If you are building Android apps, you must have seen the message “Gradle sync needed” in Android Studio. In this guide, you will learn how to sync Gradle in Android Studio step by step. Whether you are using the 2025 or 2024 version or named versions like Koala, Ladybug, or Iguana or working with Flutter, this guide will help you handle Gradle sync easily.
Gradle is a build automation tool used by Android Studio to manage your project structure, dependencies, and settings. Syncing Gradle means that Android Studio is reading all Gradle files and setting up your project based on them. If syncing fails, your project may not work properly, and many features, like autocomplete or running the app, may stop working.
That’s why it’s important to understand when and how to sync Gradle and how to fix it if something goes wrong.
What is Gradle Sync and Why It Matters
When you open a project in Android Studio, one of the first things it does is try to synchronize Gradle. But what does that mean?
Syncing Gradle simply means that Android Studio reads your project’s Gradle files and sets up everything needed to build and run your app. These Gradle files include information about your app’s dependencies, plugins, SDK versions, and more. When you sync Gradle, the IDE checks all this information and updates the project environment based on it.
When and why does Android Studio perform Gradle sync?
Android Studio runs a Gradle sync automatically when you do one of the following:
- Open a project for the first time
- Add a new dependency in the
build.gradlefile - Change your Gradle plugin or SDK version
- Manually click the Sync Project with Gradle Files button
Syncing makes sure that everything is up to date. Without a successful sync, Android Studio won’t understand your code structure correctly. Some features like code suggestions, error checking, and even the ability to run the app might stop working.
What happens if Gradle sync fails?
If the sync fails, you’ll usually see an error message at the top of Android Studio. You might also see red lines across your files, missing classes, or broken imports. This means the IDE doesn’t fully understand your project setup.
Knowing how to synchronize Gradle in Android Studio is important for keeping your project working smoothly. Even if you are new to development, getting used to syncing Gradle is a small but powerful step in learning Android app development.
Basic Steps to Sync Gradle in Android Studio
If you want your project to run properly in Android Studio, you need to keep it in sync with Gradle. The process is simple and only takes a few seconds. Whether you made a small change in your Gradle files or just opened your project, syncing helps Android Studio understand everything in your app setup.
Here’s how to sync Gradle files in Android Studio:
1. Open your project
Start Android Studio and open the project you want to work on. If it’s the first time you’re opening it, Android Studio might automatically ask to sync Gradle. If not, you can do it manually.
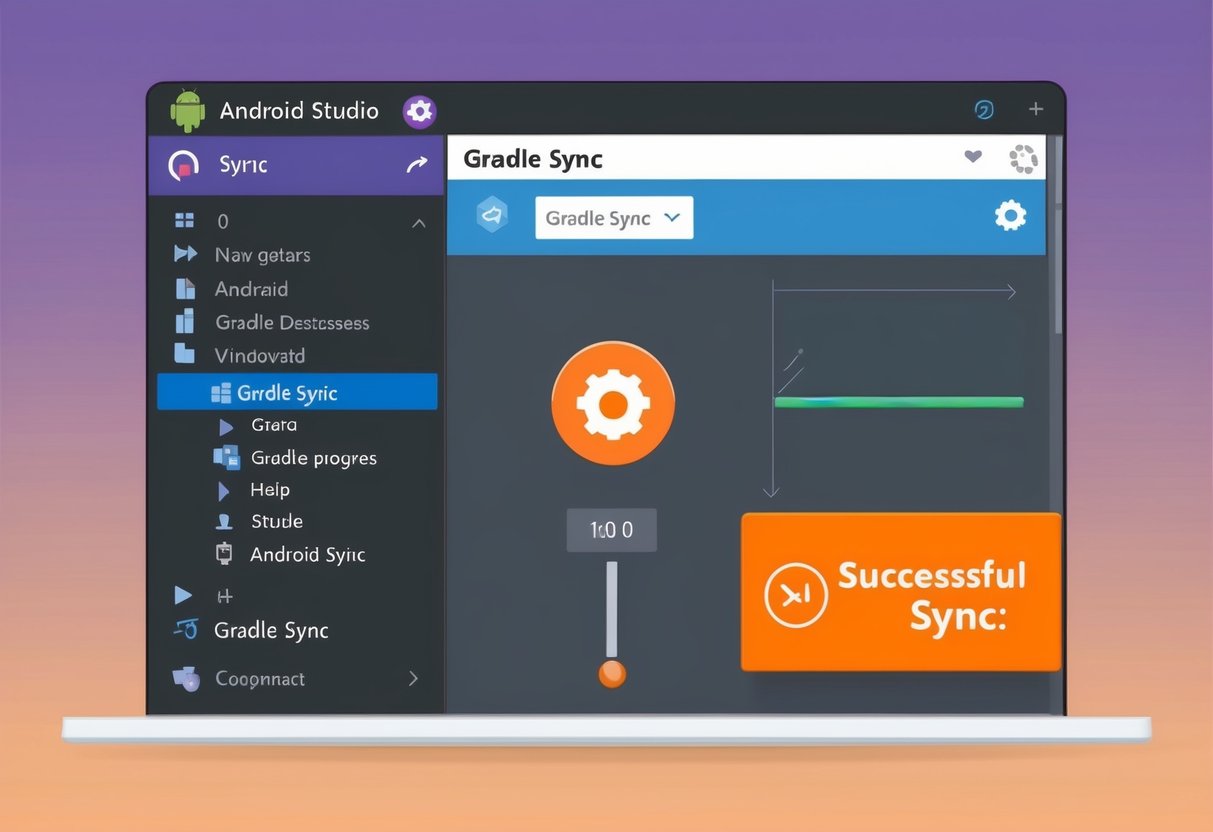
2. Go to File > Sync Project with Gradle Files
At the top menu, click on File, then choose Sync Project with Gradle Files. This tells Android Studio to check and reload your build.gradle, settings.gradle, and other related files.
3. Wait for the process to complete
Once you click sync, you’ll see a progress bar at the bottom of the screen. During this time, Android Studio checks your dependencies, project structure, and settings. If everything is fine, it will complete without any errors.
You don’t have to do this every time, but it’s a good habit to sync Gradle after making changes to your dependencies or configuration. This section explains clearly how to sync Gradle files in Android Studio, which is a basic yet essential step for keeping your project working as expected.
How to Sync Gradle in Android Studio for Flutter Projects
If you are working on a Flutter app using Android Studio, you still need to deal with Gradle—especially when working with the Android part of your project. Gradle is used in the android/ folder to build the native side of your Flutter app.
Here’s how to sync Gradle in Android Studio for Flutter projects:
1. Open your Flutter project
Launch Android Studio and open the Flutter project you want to work on. Make sure you select the root folder, not just the Android folder inside it.
2. Check if the Flutter plugin is enabled
To work properly with Flutter in Android Studio, you need to have the Flutter and Dart plugins enabled.
Go to File > Settings > Plugins, search for Flutter, and make sure it’s installed. It will also install Dart automatically.
3. Run flutter pub get from terminal
Before syncing Gradle, it’s a good idea to run flutter pub get in the terminal. This command downloads the required packages and dependencies listed in your pubspec.yaml file.
You can open the terminal in Android Studio and type:
arduinoCopyEditflutter pub get
4. Then click Sync Project with Gradle Files
After running flutter pub get Go to File > Sync Project with Gradle Files. This will sync the native Android part of your Flutter app using Gradle.
This method helps Android Studio set up the Android environment correctly. It’s very useful when you’re editing native code or adding plugins that use native Android features.
So if you’re asking how to sync Gradle in Android Studio Flutter, these steps will help you stay error-free and keep your project running smoothly.
Sync Gradle in Android Studio 2024 and Named Versions (Ladybug, Koala, Iguana, Hedgehog)
As Android Studio updates over time, some buttons and layout areas change. While the way you sync Gradle in Android Studio is mostly the same across versions, the location of the sync option might look a little different depending on which version you are using.
Here’s how to find and use the sync option in different versions, including Android Studio 2024 and other named releases like Ladybug, Koala, Iguana, and Hedgehog.
Ladybug: Gradle bar in the right panel
In the Ladybug version, you will find the Gradle sync option inside the Gradle tab, which is usually located on the right side of the screen.
Click the Gradle bar, and you will see project tasks. You can right-click on a task or click Refresh (the sync symbol) to trigger Gradle sync.
This is helpful if you’re asking how to sync Gradle in Android Studio Ladybug.
Koala: New sync icon in the top-right toolbar
In the Koala release, Android Studio introduced a small sync icon in the top-right corner of the toolbar. It looks like a circular arrow.
Clicking this icon will run a full Gradle sync.
So, if you want to know how to sync Gradle in Android Studio Koala, this is where to look.
Iguana: Sync via terminal and toolbar
For the Iguana version, the sync option can be used both from the toolbar and the terminal.
You can still go to File > Sync Project with Gradle Files from the top menu, or run sync manually by using the terminal with a command like:
bashCopyEdit./gradlew build
This covers how to sync Gradle in Android Studio Iguana.
Hedgehog: Option under Build > Sync Gradle
In the Hedgehog version, the sync option was moved under the Build menu.
Click Build from the top menu, then choose Sync Gradle.
This change was made to make it easier to find for those working on larger projects.
Use this method if you’re trying to learn how to sync Gradle in Android Studio Hedgehog.
Android Studio 2024 (General)
If you are using the standard 2024 version (without a codename), the most common method still works:
- Go to File > Sync Project with Gradle Files
- Or use the sync icon in the toolbar
This is the default and is still valid for anyone searching how to sync Gradle in Android Studio 2024.
No matter which version you’re using, the main goal is the same—make sure your Gradle files are up to date and your project can build without issues. Once you know where to look, syncing becomes a simple step.
How to Sync Specific Gradle Files (build.gradle only)
Sometimes, you don’t need to sync the whole project—just one Gradle file. For example, if you made a small change in the build.gradle or settings.gradle file, you can sync only that file instead of syncing everything. This can save time, especially in large projects.
Here’s how you can do it:
1. Open build.gradle or settings.gradle
Go to the Gradle Scripts section in your project window and double-click on the file you want to edit. You will usually have a build.gradle for your app and one for the project, and also a settings.gradle file.
2. Make your changes
Edit the file as needed. You might be adding a new library dependency, changing a version number, or updating a plugin.
3. Right-click the file > Sync Gradle File
Once your change is done, right-click on the Gradle file you just edited. You will see an option like “Sync Gradle File”. Click it.
If you don’t see the option, you can also click on the “Sync Project with Gradle Files” icon at the top of Android Studio. Even though it’s for the full project, it works fine for single changes, too.
Why sync only one Gradle file?
This method is useful when you are testing small edits or trying to fix an issue. It helps avoid unnecessary syncing of the whole project, which can be slow if you have a lot of modules or plugins.
So, next time you make a quick update, try syncing just the Gradle file you changed. It’s a faster way to get back to coding.
How to Stop Gradle Sync in Android Studio
Sometimes Gradle sync takes too long or gets stuck. This can happen due to internet issues, large dependencies, or project errors. In such cases, you might want to stop the sync process to avoid wasting time or to fix the issue before trying again.
Here’s how to stop Gradle sync in Android Studio:
1. Use the Stop button in the Build window
When Gradle sync is running, you will see a progress bar at the bottom of the screen. Next to it, there’s a small, red square button labeled Stop.
Click this button to cancel the sync process. This is the safest and easiest way to stop it.
2. Close and reopen project
If the Stop button doesn’t work or the sync is still stuck, close your project.
Go to File > Close Project, then reopen it. Android Studio will ask you to sync again, but this time, you can choose to fix any issues first.
3. Kill the process from Task Manager if Android Studio freezes
If Android Studio becomes unresponsive during sync and you can’t click anything, you might need to force close it.
On Windows: Press Ctrl + Shift + Esc, go to the Processes tab, find Android Studio, and click End Task.
On macOS: Press Command + Option + Esc, select Android Studio, and click Force Quit.
Once you reopen Android Studio, it will usually recover your project and allow you to retry the sync.
Knowing how to stop Gradle sync in Android Studio helps you avoid delays and take control when something goes wrong. It’s a good trick to know, especially if you’re working on big projects or testing new changes.
Common Errors During Gradle Sync and Fixes
While syncing Gradle in Android Studio, you might run into errors that stop your project from building. These issues can happen for many reasons—wrong versions, network problems, or missing files. The good news is that most of them are easy to fix once you know what they mean.
Here are some of the most common Gradle sync errors and how to fix them:
1. Dependency not found
This error usually happens when you add a library in build.gradle, but Gradle can’t find it online.
How to fix it:
- Make sure the library name and version are correct
- Check if the dependency exists on a trusted repository like Maven or JCenter
- Try syncing again with a stable internet connection
2. Internet connection issues
Gradle needs to download files and plugins from the internet. If your connection is weak or disconnected, sync will fail.
How to fix it:
- Check your internet connection and try opening any website to confirm
- If you are behind a firewall or proxy, check your Android Studio network settings
- Try again after reconnecting
3. Plugin or SDK mismatch
You may see errors if your Gradle plugin version doesn’t match your Android Studio or SDK version.
How to fix it:
- Open
build.gradleand check the plugin version underclasspath 'com.android.tools.build:gradle' - Compare it with the Gradle version in
gradle-wrapper.properties - Use compatible versions as recommended by the official documentation
4. Use Invalidate Caches / Restart
Sometimes, Android Studio keeps old data that causes sync errors, even if your code is fine.
How to fix it:
- Go to File > Invalidate Caches / Restart
- Click Invalidate and Restart
- Android Studio will clear old data and restart with a clean cache
These steps will help you fix the most common problems that come up during Gradle sync. Once you get used to handling these errors, you’ll feel more confident working on your Android projects.
FAQs
Q: What does Gradle sync do in Android Studio?
Gradle sync reads your project’s configuration files like build.gradle and settings.gradle. It sets up your project so that Android Studio can understand what libraries you are using, what SDK version you’re targeting, and how the app should be built. Without a proper sync, your project may not compile, and some features in the IDE may stop working.
Q: Can I sync only one module or file?
Yes, you can. If you make changes in just one module or Gradle file, you don’t have to sync the whole project. You can right-click on that specific build.gradle file and choose Sync Gradle File. This saves time and still updates the project settings for that file.
Q: Why is my Gradle sync stuck or slow?
Gradle sync can become slow if you have a poor internet connection, outdated plugins, or a large number of dependencies. It can also happen if Android Studio is using too much memory or if you have background tasks running. Make sure your system resources are not overloaded, and keep Gradle files clean and updated.
Q: Do I need to sync Gradle after every change?
No, not after every change. But you should sync whenever you change something in your Gradle files, like adding a new library, changing the SDK version, or updating build plugins. Syncing keeps the project setup accurate and avoids errors when building or running the app.
Q: Can I cancel Gradle sync once started?
Yes, you can. If you start a sync by mistake or if it gets stuck, you can click the Stop button in the Build window. If Android Studio freezes, you can close the project or force quit the app. After that, you can reopen the project and try syncing again when you are ready.
Final Thoughts
Now you know the different ways to sync Gradle in Android Studio, no matter what version or setup you are using. You learned the basic method through File > Sync Project with Gradle Files, how to handle Gradle in Flutter projects, how to sync specific files like build.gradle, and even how to stop a sync if it gets stuck.
You also saw that different Android Studio versions, like Koala, Ladybug, Iguana, Hedgehog, 2025 and the 2024 edition, may place the sync option in slightly different spots. So always check your version-specific user interface if you can’t find the button right away.
Syncing Gradle is something you will do often, so it’s good to feel comfortable with it. If you ever face issues, you can come back to this guide to troubleshoot and fix them step by step.
Make sure to bookmark this guide so you can use it later whenever Gradle gives you trouble during your Android development journey.

Charles Mata is an experienced app developer and educator, passionate about helping others build powerful mobile applications. He publishes in-depth guides on app development, covering Android Studio, Firebase, Google Play Console, and more. With a practical approach, he simplifies complex coding concepts, making them easy for beginners and advanced developers alike.
Charles also offers a premium website development course, where he teaches step-by-step strategies to build, optimize, and scale websites for success. Whether you’re a beginner looking to learn app development or an entrepreneur wanting to create a website, his expert insights will guide you every step of the way.